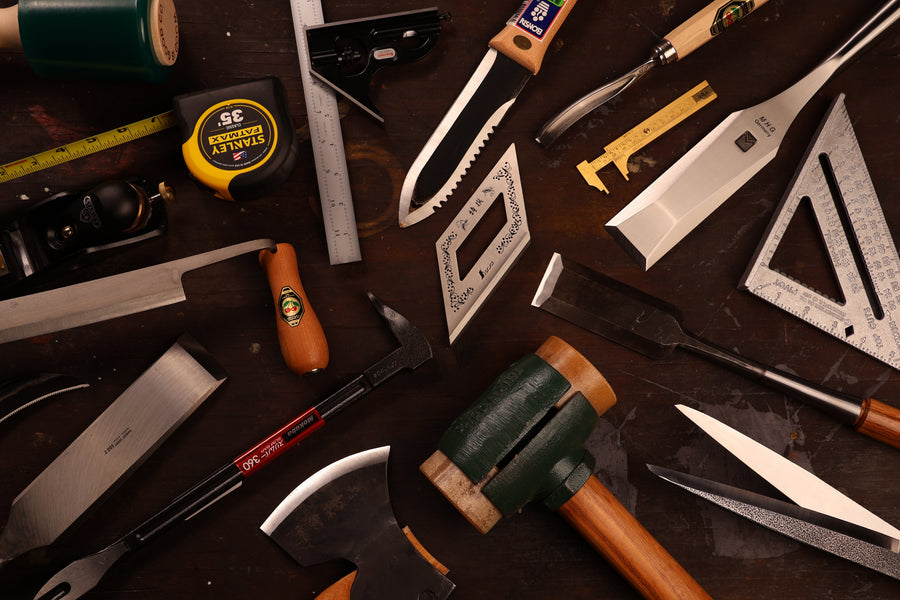
Using a sharp tool is like dancing. Using a dull tool is like a tug of war match. The blade crushes wood fibers instead of slicing through them, your cuts wander off line, and what should take minutes turns into a battle. Dull tools are also dangerous—anything that requires excessive force is a tool that will eventually slip on you.
This guide covers how we keep our hand tools sharp at Shelter. We will walk through the three approaches we use, the principles that apply regardless of which one you pick, and a step-by-step run-through of our go-to system.
Comparing Sharpening Systems
There are three approaches we use and recommend. None of them are wrong—the right one for you ends up depending on which one you actually like doing the most. The bottom line is that “sharp” is the finish line and there are a variety of ways to get there. Sharpening should not be a headache every time. When you are doing it correctly with a system you prefer, it is actually meditative.
1. The Sandpaper & Glass Method (Recommended!)
This is the method we teach in our Sharpening course as well as our in-person and online Purely Post & Beam course, and it is the most accessible way to get professional results without a major upfront investment. Truly, our whole timber framing crew uses the sandpaper method—we do not just teach it and then go do something different once the students leave.
How it works: Adhesive high-grit sandpaper stuck to a flat glass plate creates a precision sharpening station. The glass stays flat. The sandpaper provides consistent abrasion that is easily replaceable. That is the whole system.
Why it works: Glass stays flat—stones can dish unevenly over time, but a glass plate gives you the same surface every session. The grit progression from coarse to fine is straightforward and easy to follow. Pair it with a leather strop, a honing guide, and aluminum oxide compound, and you have a complete system that works for every chisel and slick we sell.
Trade-offs: You will need to replace the sandpaper periodically. The other potential drawback is that you really do need a honing guide every time with this system—it is a lot harder to do freehand.
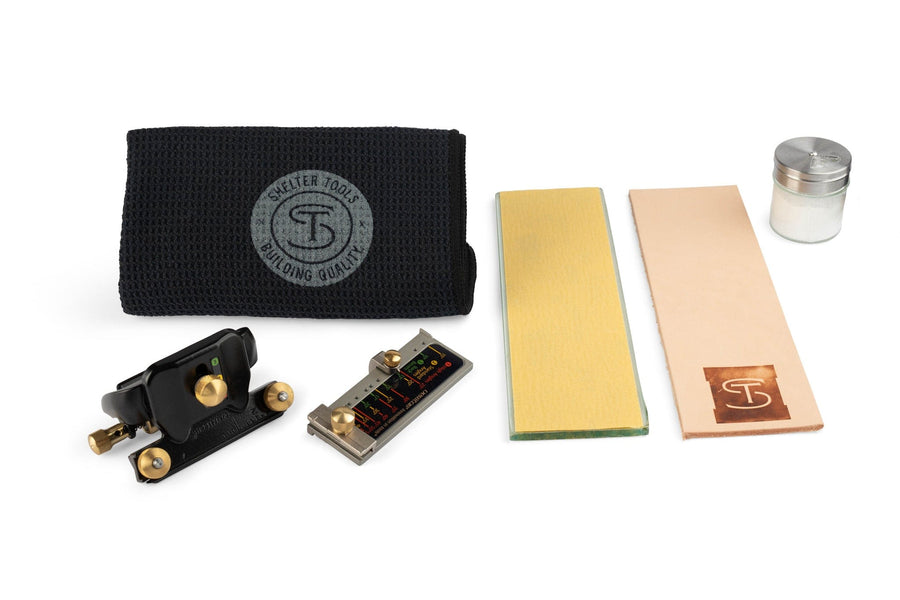
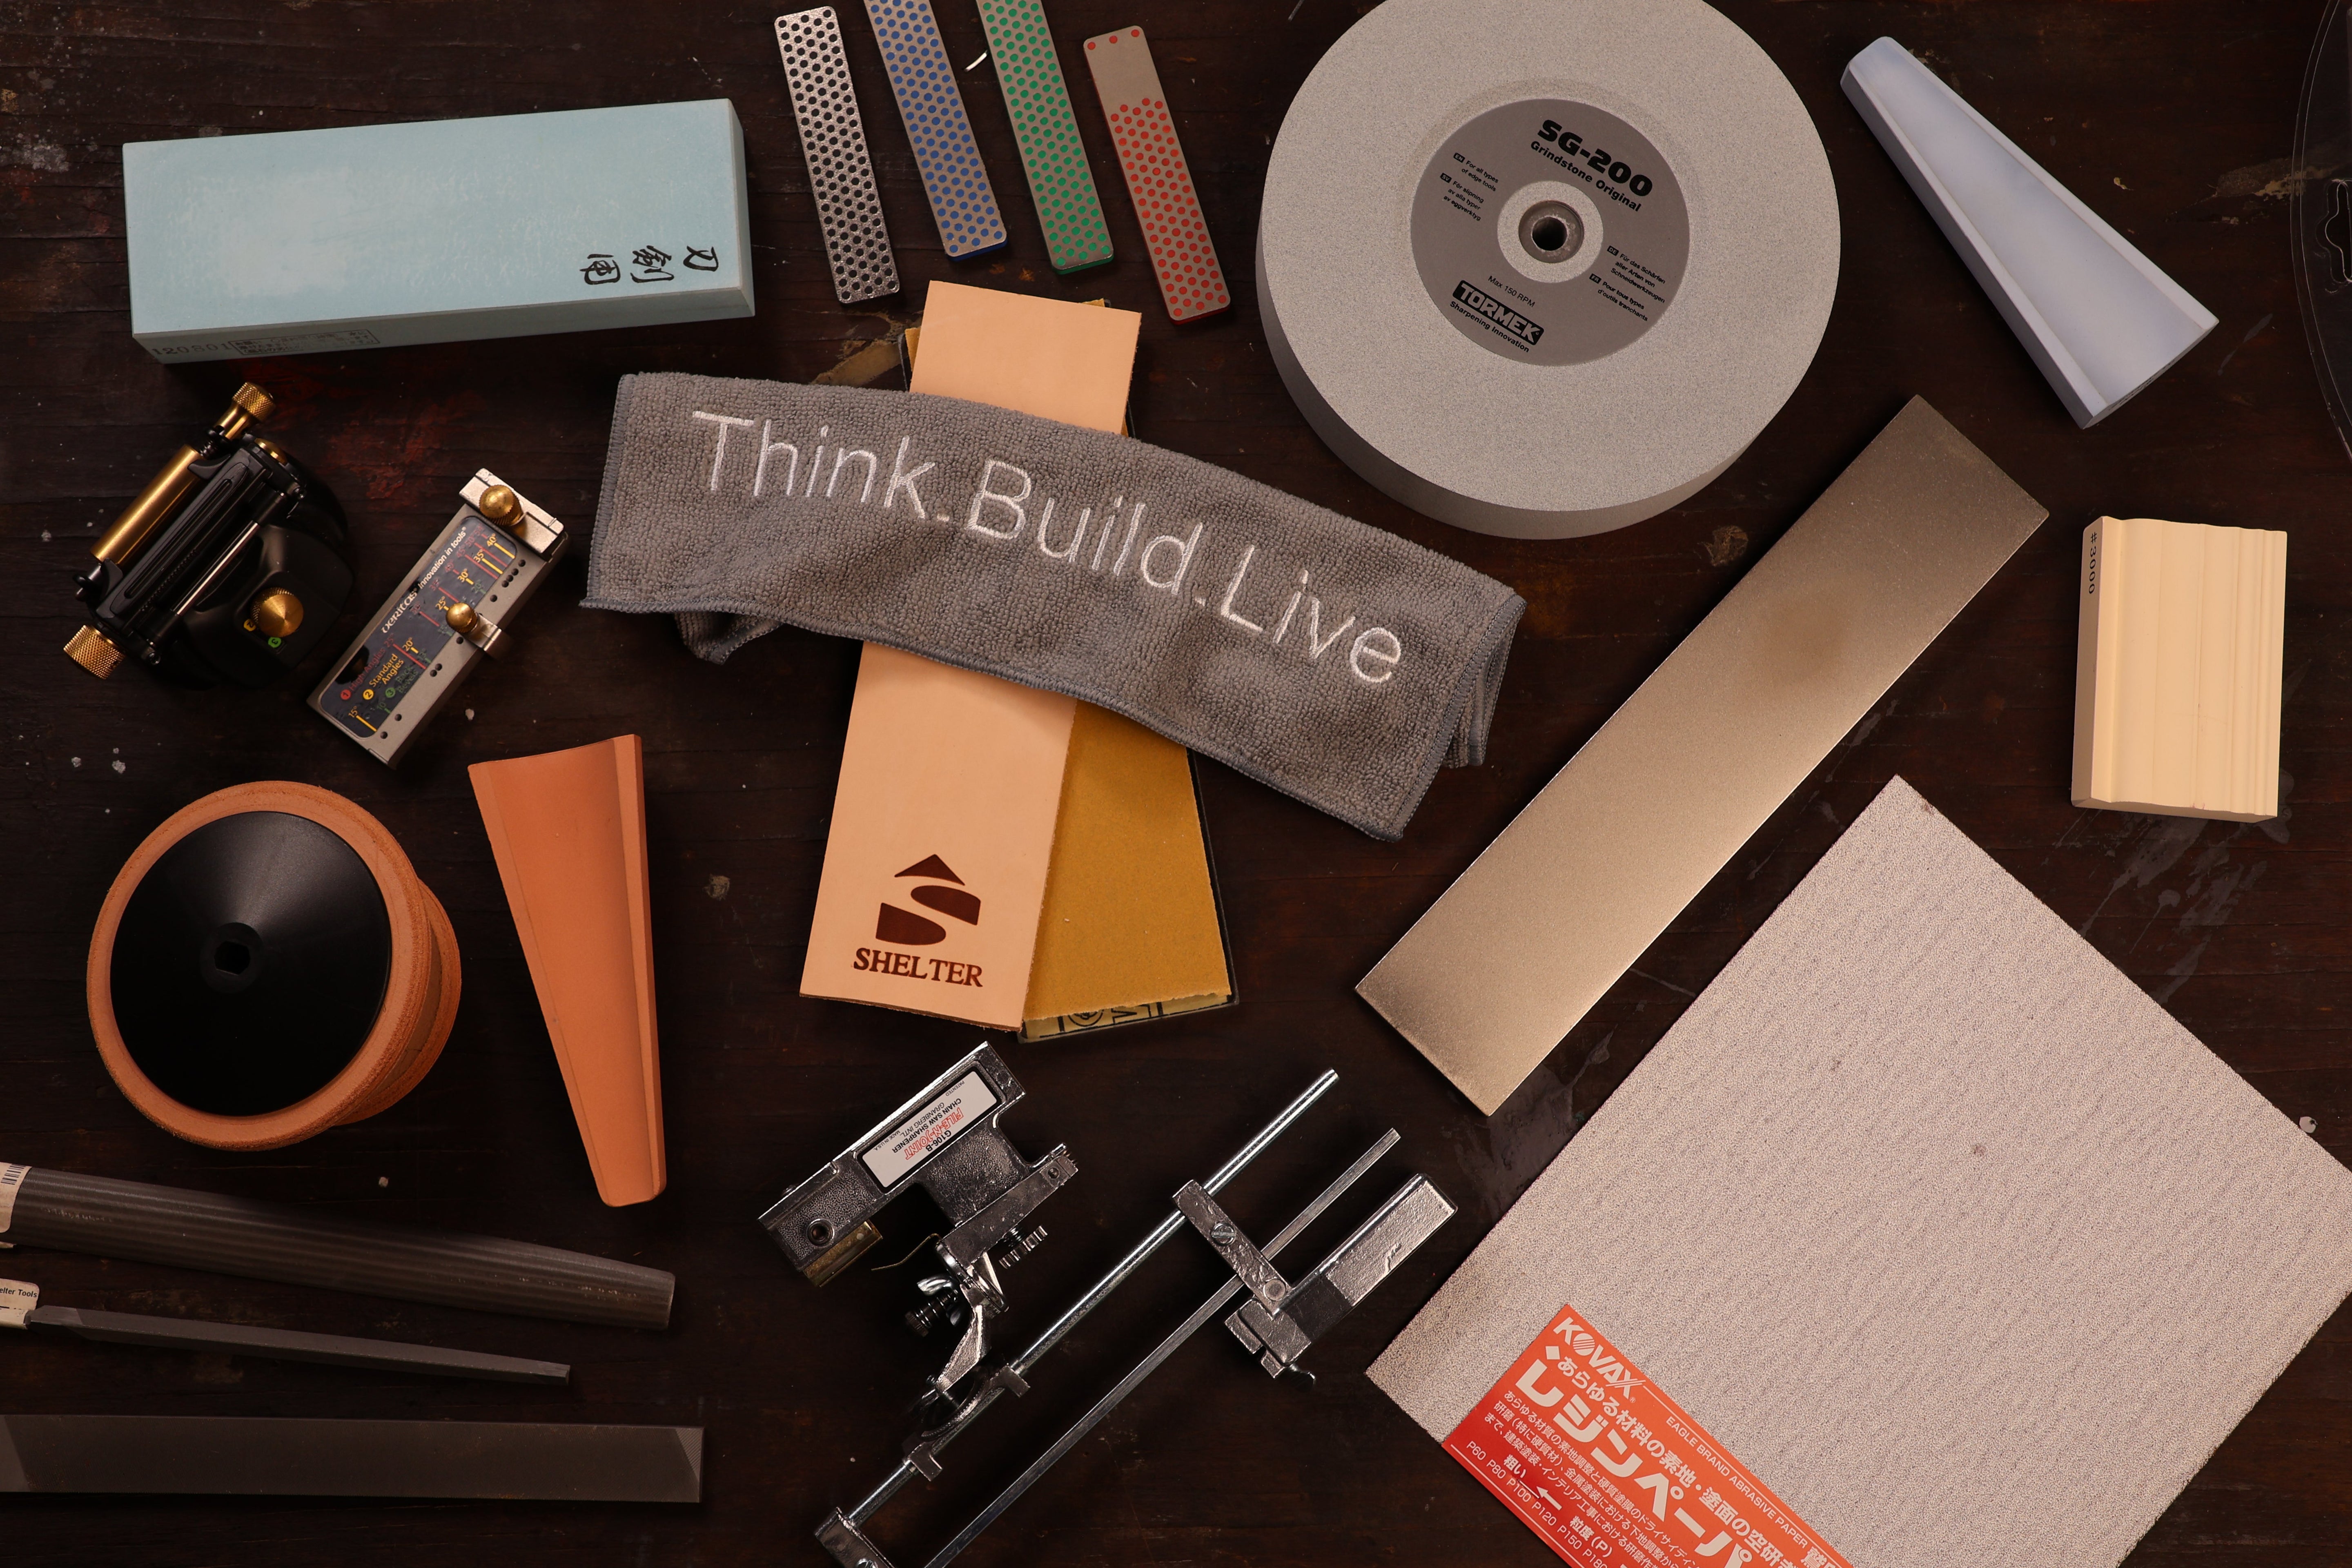
What you'll need: Our Shelter Sharpening System includes everything in one box: a tempered glass plate, a full sandpaper grit progression, an MKII Honing Guide, and aluminum oxide in a shaker. It works for beginners and pros alike, and it gets you the same results as more expensive setups.
Best for: Anyone new to sharpening, anyone with limited shop space, and anyone who wants reliable results without a big upfront cost.
2. Using Sharpening Stones
Water stones are the traditional Japanese approach and the favorite of many craftspeople we know.
How it works: Water stones are porous synthetic stones that use water as a lubricant. Soak or splash the stone, then run your blade across the surface in controlled strokes. The abrasive particles in the stone cut into the steel. As you work, a slurry of water, stone particles, and metal forms on the surface, which actually helps the cutting action. Progress from coarse stones to fine stones to refine your blade.
Why it works: One nice plus to water stones is that once you get used to them, you do not really need a honing guide. The reason for that is that when you set your original angle the first time you sharpen the tool, you are creating a very flat surface on the bevel edge. The next time you go to sharpen that same edge, the water almost suctions the bevel to the stone and helps you keep the same angle. They are also cleaner than oil stones, and once you have some experience, you can feel exactly how the edge is developing against the stone.
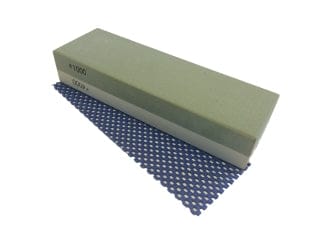
The trade-offs: Water stones can "dish," meaning they wear unevenly in the middle and need regular flattening with a diamond plate. They also cost more upfront than sandpaper systems and take up more storage space.
What you'll need: We carry a few water stones we trust, including the Imanishi Wetstone, a combination stone that covers a lot of ground. You will also want a diamond flattening plate and a honing guide for getting started with consistent angles.
Best for: Anyone looking to go the most traditional route. There is something romantic about this approach.
3. The Tormek Sharpening System
For those with little patience—or anyone who needs to sharpen a lot of tools quickly—the Tormek T-8 is what we reach for. It is a water-cooled power sharpening system that takes most of the time and effort out of the process. It is also the system for those who are slightly less romantic about sharpening, since it is completely mechanical.
How it works: A water-cooled grinding wheel slowly rotates while you hold your tool against it using a specialized jig. The water both keeps the steel from overheating, which would otherwise destroy its temper and removes any build up of steel particles. The jig holds your tool at precise, repeatable angles.
Why it works: The motorized wheel paired with the precision jigs gives you consistent angles every time. It handles chisels, plane irons, turning gouges, carving tools, and more. For high-volume sharpening, nothing else we have used is faster. The Tormek is also great if you accidentally drop a tool and create a nick in the metal—it removes steel faster than any other system, so it will work that nick out quickly.
The trade-offs: It is a significant upfront investment, and it takes up real shop space. There is also a learning curve to setting up the jigs the first few times. The flip side of how fast it removes steel is that it is very easy to sharpen for too long on the Tormek—you will wear through your tools faster on this system than any other.
Tools you need: The Tormek T-8 and the jigs that match the tools you want to sharpen.
Best for: Anyone with a lot of tools to sharpen, anyone running a shop, or anyone who would rather spend their time using tools than maintaining them.
Essential Sharpening Principles
No matter which system you pick, the same principles apply.
The anatomy of a sharp edge: A sharp edge is two flat, polished surfaces meeting at an acute angle. If either surface is rounded or uneven, the edge will not truly be sharp.
Know your angles: For general timber framing and woodworking, we recommend a 30-degree bevel. The reason is that 30 degrees holds up well across the variety of wood species we cut in our shop, anything from pine to oak. You could probably get away with a 25-degree bevel on softer woods like pine, but if you are cutting oak or anything harder, that thinner edge tends to bend over more easily and you will end up sharpening more often. 30 is the sweet spot. Consistency matters more than hitting the exact number—and that is exactly where a honing guide earns its place. UNLESS of course your grandpa, boss or teacher tells you otherwise. Just listen to them.
Grind, Hone, Polish: Sharpening happens in three stages. The grinding step removes steel quickly and establishes your bevel angle. The honing step takes the rough ridges left from grinding and smooths them out in preparation for polishing. The polishing step is what brings your tool to an almost mirror finish and makes it incredibly sharp. We literally use the arm hair test—if it can shave arm hair, you are good to go. We have been trying to convince our marketing director to test it on his moustache for years to no avail.
Step-by-Step: Sharpening with the Shelter System
Here is how we sharpen our chisels and slicks with the Shelter Sharpening System.
Step 1: Flatten the Back
Place the blade flat on 180-grit sandpaper with the short end of the glass float facing you, and move the tool straight up and down the sandpaper. Use firm, even pressure, and work until you see a consistent scratch pattern across the back near the tip, ideally evenly across the whole back. It is also a good idea to rotate the glass float end-for-end every now and then to evenly distribute the wear on the sandpaper.
Getting the back of your tool perfectly flat is an absolutely crucial first step, and it is usually where most of your time will be spent. It can feel monotonous—do not give up. The good news is that this is a do-once kind of thing. Once your back is flat, it stays flat for a very long time.
One thing to watch for: be aware of where the back of your tool angles toward the handle. You NEVER want to accidentally push the tool too far up the plate to the point where that incline rides onto the sandpaper—if it does, the handle end lifts and the bevel end drops, which creates a second bevel on the back of your tool that takes ages to flatten out again. All of sharpening is about being aware, just like all of woodworking or life in general.
Step 2: Establish the Primary Bevel
Mount your blade in the honing guide. Again, we recommend 30 degrees—but the MKII Honing Guide comes with a really good owner's manual that you should absolutely read. Resist every urge in your body to throw it away.
Work the bevel on 180-grit sandpaper using steady, even strokes. Continue until you feel a burr along the entire back of the tool. That burr is how you know you have established a flat beveled edge. You should be able to run your thumb up the back side of the tool at any point along the bevel and feel a slight snag of metal—that is the burr, and it is actually the metal rounding over from the bevel edge to the back as you sharpen. That is good, that is what you want.
You do not need to remove the burr as you go. The polishing step at the end actually takes it off.
Step 3: Refine with 320-Grit
Switch to the 320-grit sandpaper and repeat the process on the bevel. It is very easy to see where your tool is hitting the 180 grit and to know when it is time to move to 320. The 320 is harder to see in action—generally, we just give it 50 back-and-forths and move on.
Step 4: The Final Strop
Load your leather strop with aluminum oxide compound—about a dime's worth, both in radius and thickness. You do not need more than that.
Pull—never push—the blade backward across the strop. Start on the back of the tool and work it until it is shiny, then flip to the bevel edge and do the same. Twenty passes each is a good ballpark. The aluminum oxide polishes the edge to a mirror finish and removes the burr at the same time. Do not skip this step. A stropped edge is the difference between sharp and scary sharp—the kind of edge that will shave hair off your arm.
A quick tip: once you have done the full sharpening process the first time, you can often go straight to the strop for touch-ups whenever you feel your tool starting to dull. Eventually the strop alone will not bring it back to razor sharp, and you will need to re-establish your angle by running through the whole process again. The good news is that the second time is always faster than the first (unless you drop the tool).
Master Your Sharpening Skills with Professional Sharpening Gear from Shelter Tools
People always ask us how often to sharpen. The honest answer is that it varies drastically based on the wood species you are cutting and how much of it you are cutting. As you progress as a timber framer or woodworker, you will develop a feel for it—you will start to notice when your tool is tearing the wood instead of slicing through it. That is your cue to sharpen.
Want to see us walk through every step? Check out our online sharpening course, and browse our full collection of sharpening tools in our store. If you are not sure which system makes sense for you, give us a call at 207-442-7938—we are real humans who answer the phone, and we are happy to help you figure it out.