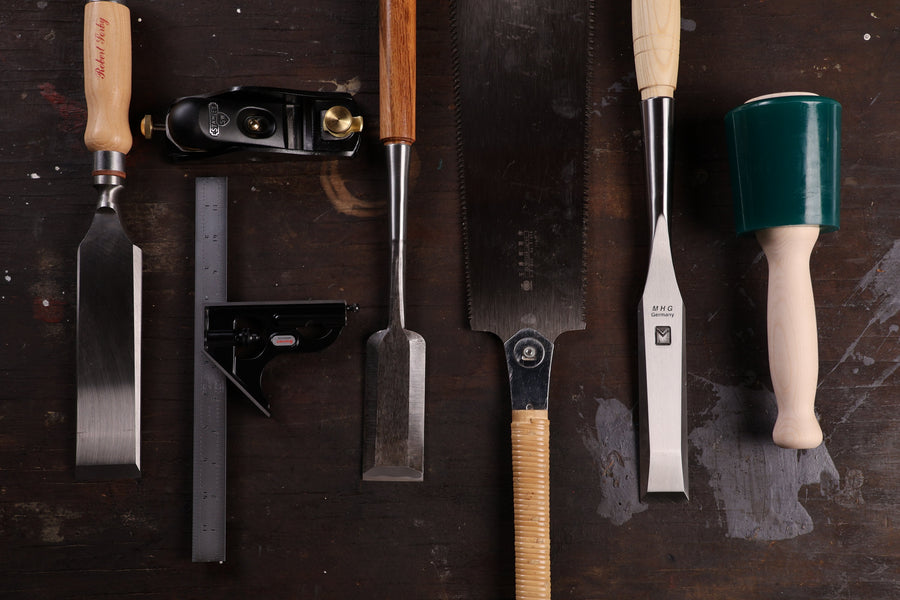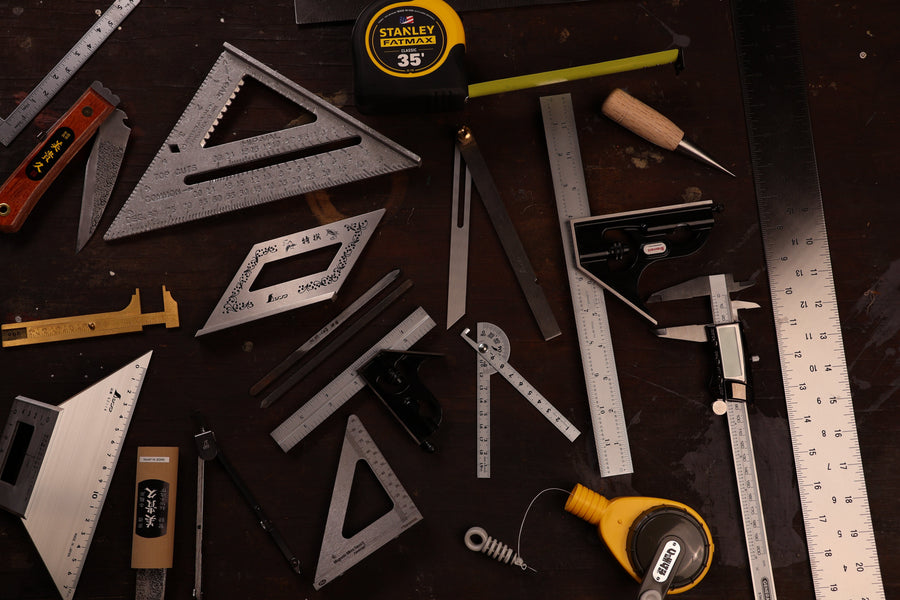
Getting into timber framing means putting together a kit, and the tools you pick will shape how the work feels. Whether this is your first frame or your fifth, here is what actually belongs in your kit—from the chisels you will reach for every day to the layout tools that keep your joinery tight.
Why Quality Matters in Timber Framing
Quality tools do the job, and they last. A dull chisel that will not hold an edge means more time sharpening and less time carving. A tape measure with markings so tiny you cannot read them properly leads to misreads—and small errors at layout compound through your entire frame. Cheap tools cost more in frustration and rework than they ever save you in dollars.
On top of that, quality tools last a lifetime. We pride ourselves on selling heirloom tools that can be passed down to future generations. With regular maintenance, the right tool will outlast you—and then think of how happy the next person will be to have a superb tool!
The Tools You Will Need
Here is what belongs in a complete timber framing tool kit, starting with what you will reach for most.
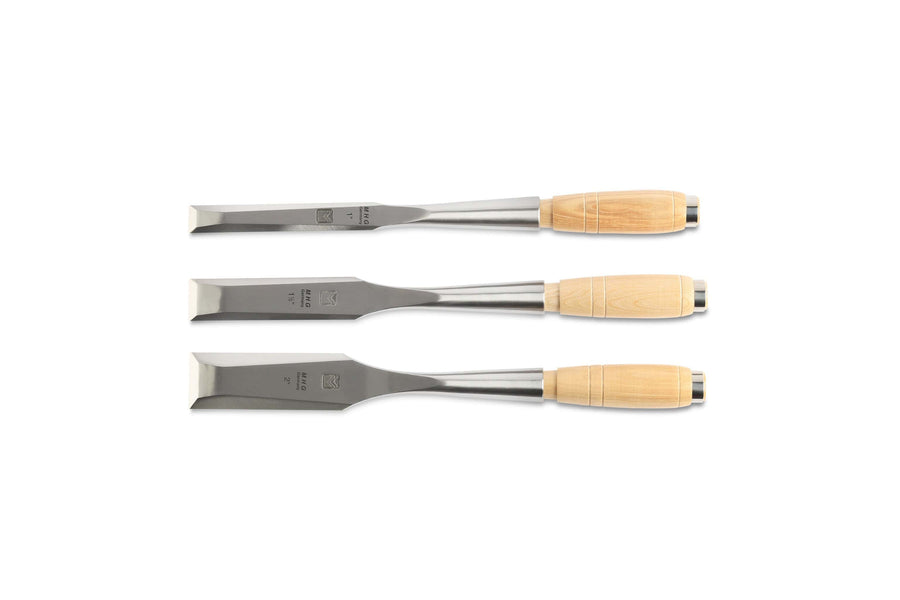
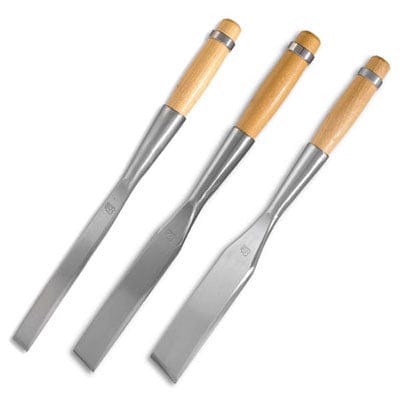
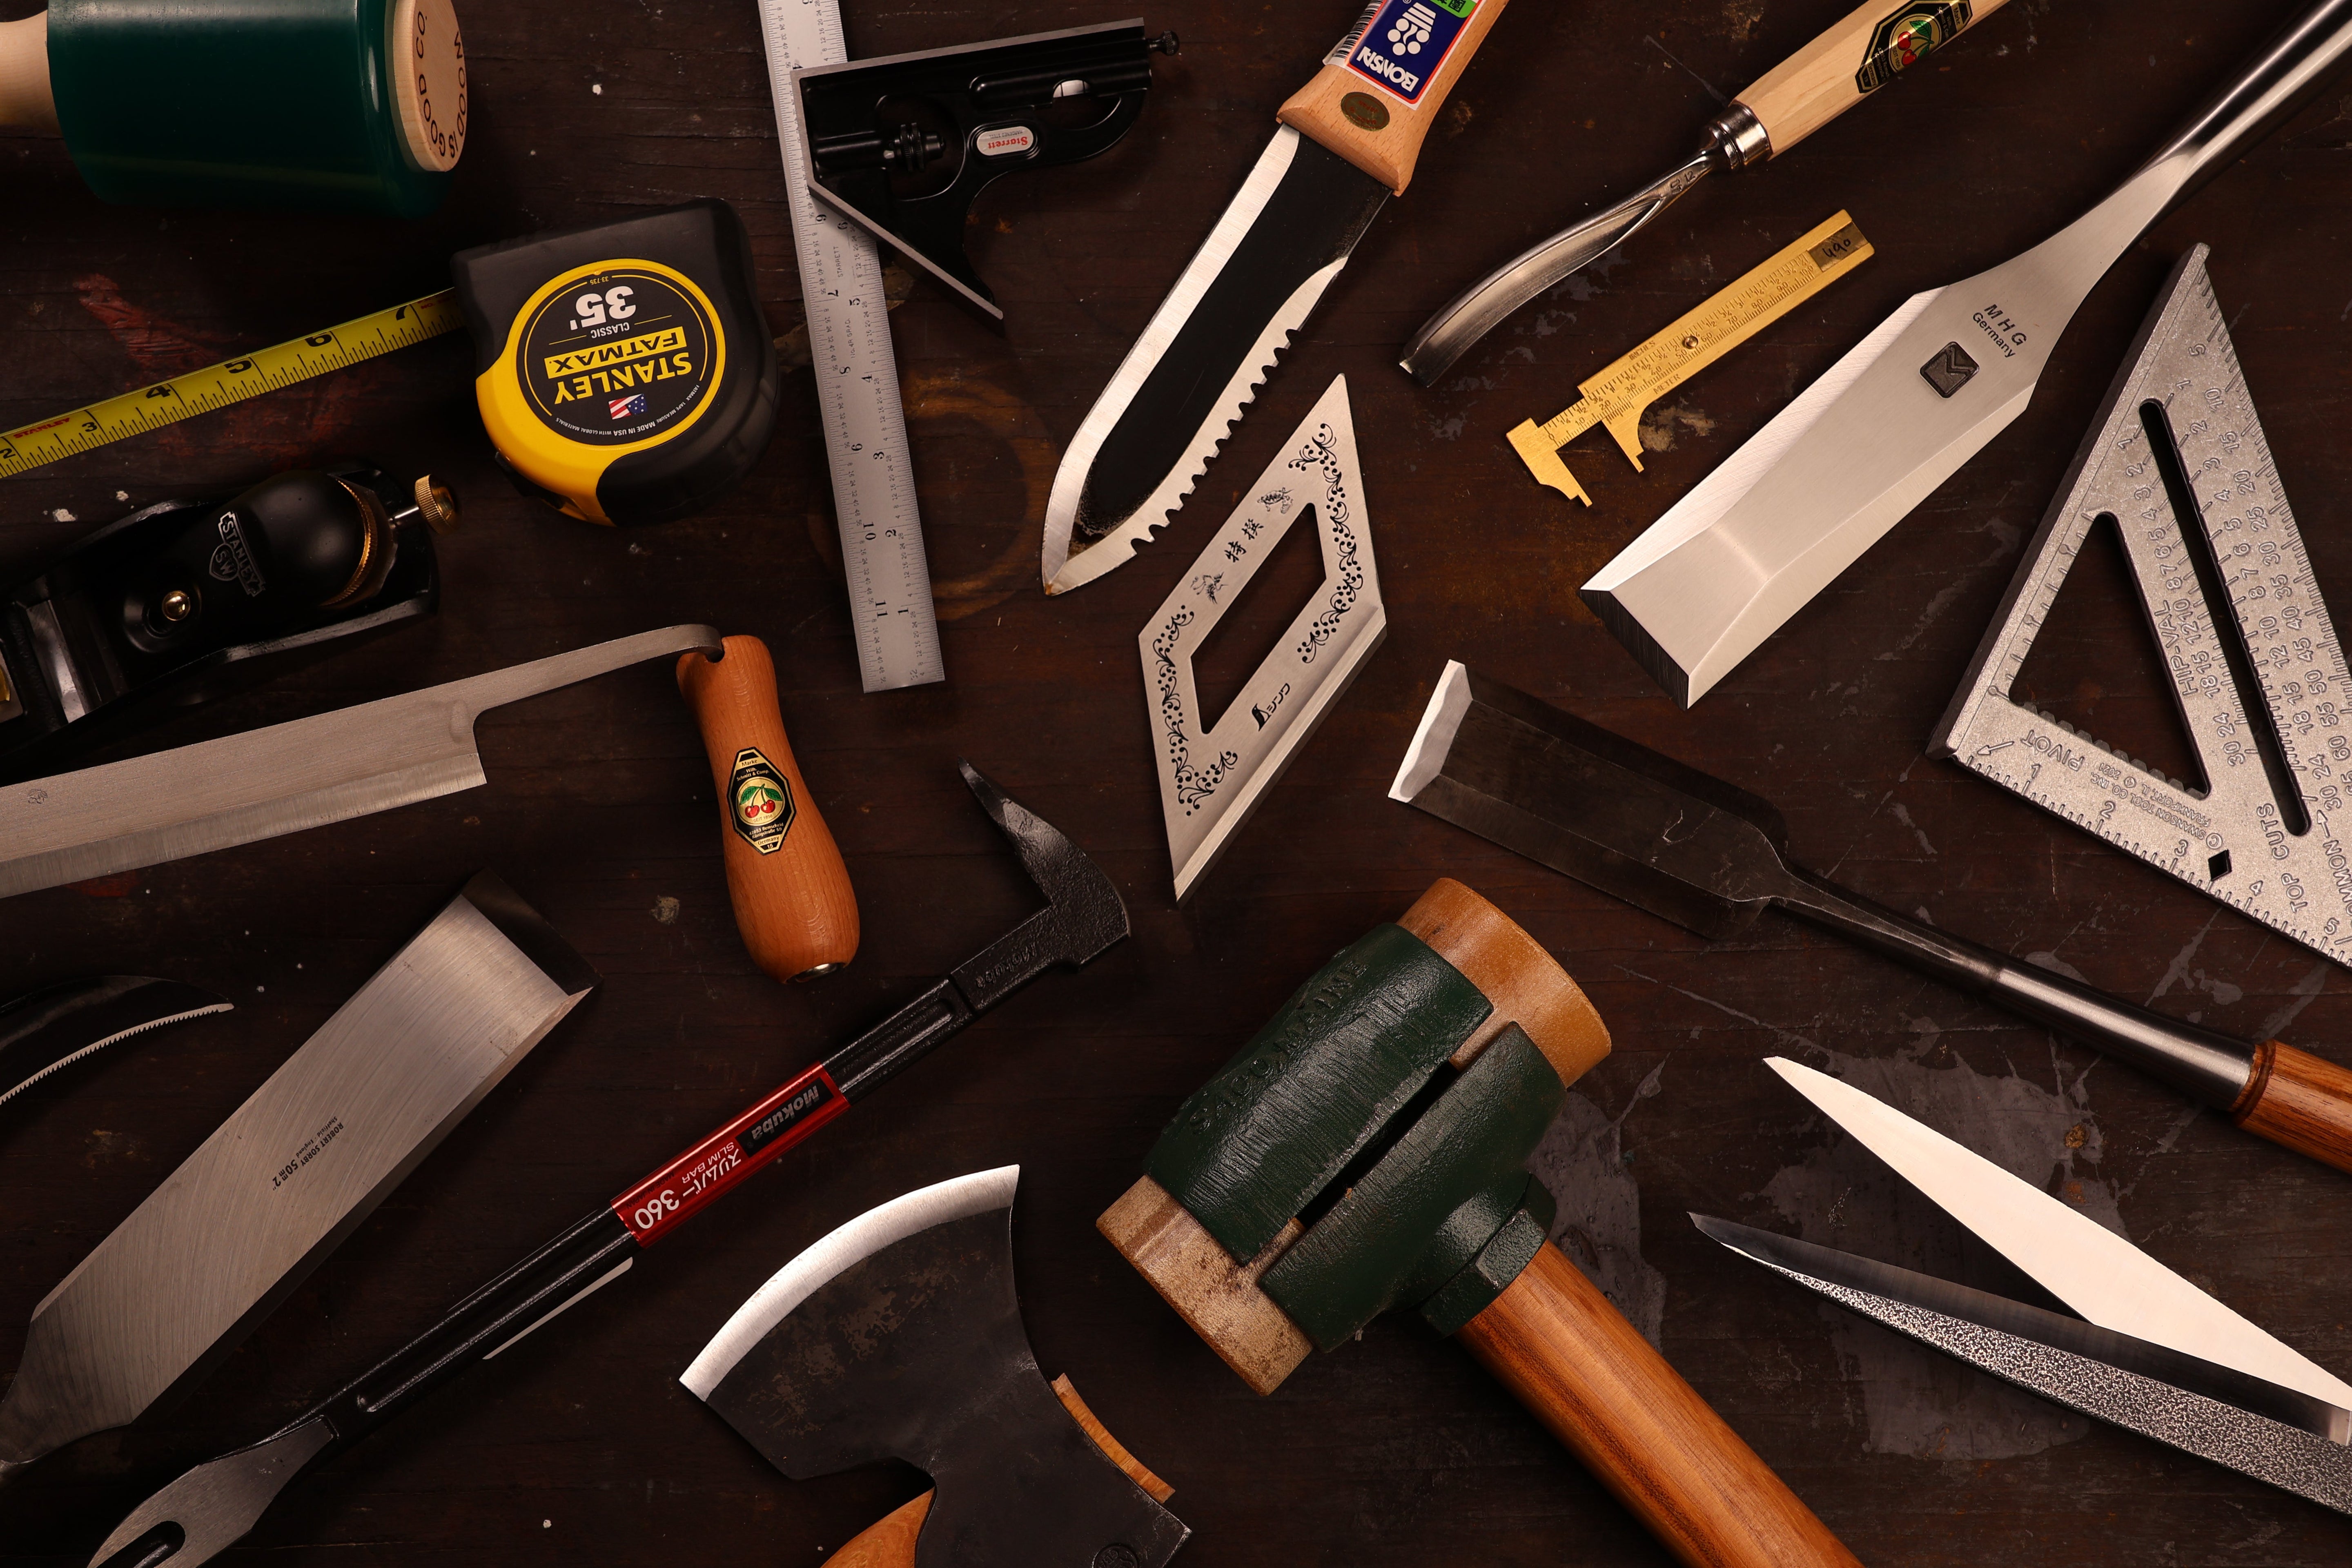
Chisels & Slicks
Your timber framing chisel is the tool you will reach for every day, on every joint. The difference between a good chisel and a great one shows up the first time you use it.
You can find inexpensive short chisels at almost any hardware store. It is really worth it to purchase a chisel made specifically for timber framing. For general timber framing work, you will want a range of widths. A solid set typically includes 1, 1½, and 2-inch chisels. Pair them with a good mallet (more on that below).
A quick note for anyone shopping vintage: a lot of our students show up to class with a yard sale chisel they are excited about, and we love that—there is nothing better than scoring a gem secondhand. Just make sure the bottom of the chisel is flat before you commit. Many older chisels are slightly curved on the bottom, and that makes it extremely difficult, if not impossible, to get the razor-sharp edge we teach in class.
If a chisel is the hammer of timber framing, a slick is the scalpel. They are for the very fine, precise work—paring large tenon faces, cleaning up saw cuts, and finishing joinery to fit. If you are serious about hand-tool timber framing, a quality slick is non-negotiable.
Handsaws
There are really only two essential handsaws in a timber framing kit: a ripcut saw and a crosscut saw.
A ripcut saw has larger, in-line teeth designed to cut along the end grain of the wood. A crosscut saw has smaller teeth, slightly staggered from one to the next, so the blade slices cleanly across the grain rather than tearing through it. Between those two, you can handle just about anything a timber frame project will throw at you.
Size matters here. We suggest nothing smaller than 300mm—go shorter than that and you will be fighting the cut on every beam. There are plenty of wonderful Western saws out there, but we teach with Japanese pull saws, so it would feel disingenuous to point you anywhere else. The pull stroke gives you better control and a cleaner kerf, and a saw like the Z-Saw is a great place to start.
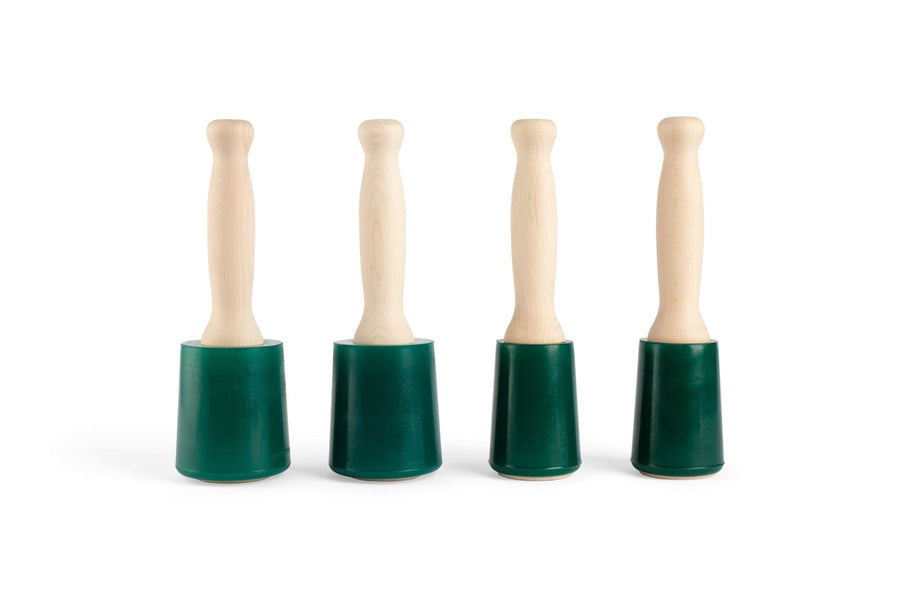
A Good Mallet
Your mallet is the workhorse that drives every chisel strike. Too light and you are making twice as many strikes. Too heavy and you lose control. We have found 30 oz hits the sweet spot for timber framing.
If you want a recommendation, the Wood is Good Mallet 30 oz has earned its spot in our kits. It lasts, delivers the right driving force, and will not beat up your chisels. PLUS, it does not crack in freezing weather which is a must if you brave New England winters like we do.
Layout Tools
Tight joinery starts with proper layout. You cannot cut accurately when you have not measured and marked accurately. Your layout tools will be your constant companions, so it is worth investing in solid ones.
A framing square stays within reach pretty much all the time. This L-shaped tool checks right angles and acts as a guide for both your pencil and your scoring knife during layout. A good framing square is dead-on accurate and clearly marked.
A combination square earns its place mainly for checking the depth of your joinery and making sure you are not over-cutting mortises—meaning, cutting the walls of the mortise beyond perpendicular to the reference face of the timber. Over-cut walls make for loose joinery. Loose joinery = bad.
You will also want a quality measuring tape(35ft minimum), a carpenter pencil, and a sharp utility knife for scoring layout lines.
Power Tools
Hand tools are great, but sometimes you just want the job done. The right power tools speed up your work without sacrificing quality.
A good circular saw is basically the swiss army knife of the timber frame shop. It can cut dovetail mortises a lot faster, square up timbers, and do plenty of things you would not have imagined it doing until you get creative with it.
For boring peg holes and mortises, you will want a heavy-duty drill paired with a quality auger bit.
Chain mortisers are a game-changer if you are cutting a lot of mortises. They remove material fast and leave clean walls that need minimal chisel work to finish. They are loud and aggressive, but they work.
A 12-inch or larger planer is the finishing touch. It leaves a beautiful surface on your timbers and erases any layout marks or scuffs that ended up on the wood during cutting. Our absolute go-to palmer is the Makita 12-¼” planer, there we said it. Just remember: power tools remove material fast, so work carefully and check your measurements twice.
Sharpening Gear
The bottom line is that sharp tools are just way more fun to use. A sharp tool is therapy, and a dull tool is like doing your taxes with an abacus. They are also safer and produce cleaner work, so it is worth keeping your edges in shape.
There are a few ways to maintain your tools. We prefer the adhesive sandpaper and float glass method paired with an MKII Honing Guide. It is simple, affordable, repeatable and gets the same results as more expensive systems. We also stock water stones for those who prefer them.
For those with little patience—or anyone who needs to sharpen a lot of tools quickly—we are huge fans of the Tormek T-8. This water-cooled system holds your tools at the right angle and prevents overheating.
And do not skip the leather strop. A few passes after sharpening takes your edge from sharp to scary sharp—the kind of edge that will shave hair off your arm. (We do not recommend timber framing tools for shaving.) As Gaius likes to say, if your arm hairs are actually jumping off of your arm before the tool even approaches them, the tool is sharp.
Featured sharpening gear: Shelter Sharpening System · Tormek T-8
Choose Heirloom-Quality Tools from Brands We Trust
Every tool in our shop has earned its place through real timber framing work—on our campus in Woolwich, where we teach students, and on the job sites where our crews raise frames. We test these tools in the field, we teach with them, and we use them to build structures that will outlast us.
Browse our complete selection of timber framing tools, and if you have questions about what belongs in your kit, reach out(call us at 207-442-7938, we are real humans who answer the phone). We have been doing this since 1974, and we are happy to help you build a tool collection that will last a lifetime.