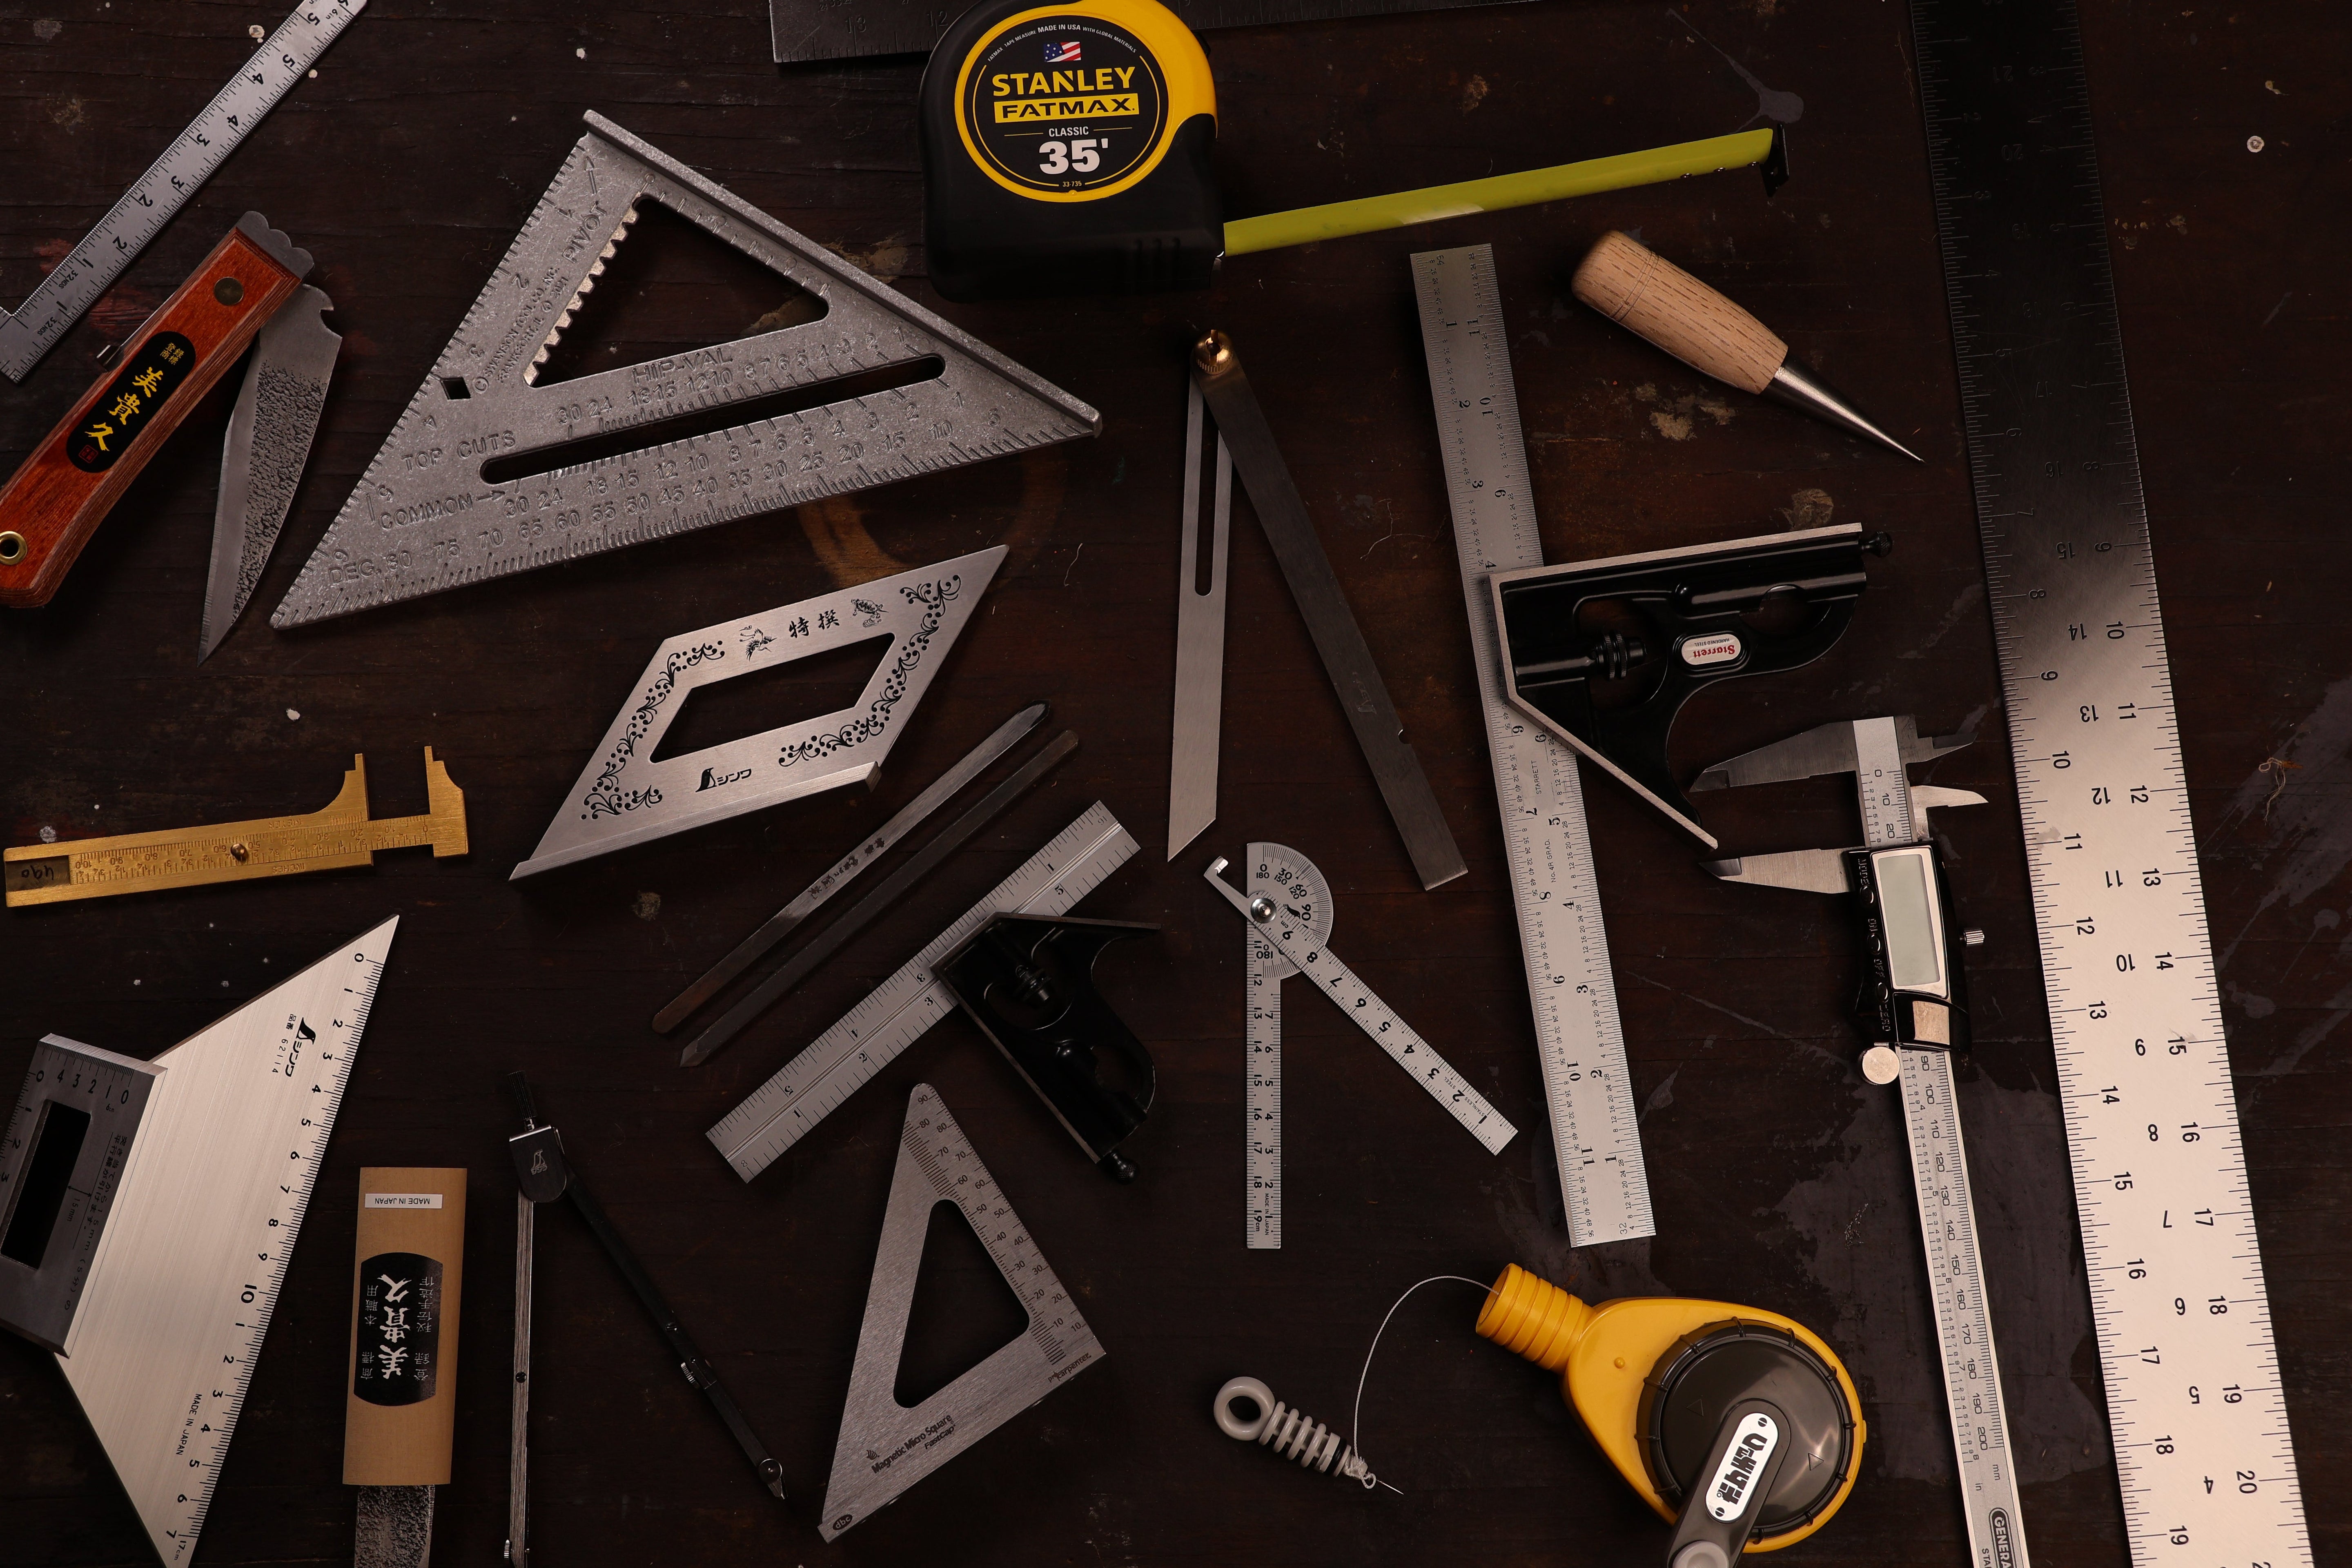
Starting a new craft should not mean emptying your bank account before you make your first cut. We get it. Open any tool catalog, scroll through any woodworking forum, or watch a few YouTube videos, and suddenly you are convinced you need seventeen different chisels and a mortiser that costs more than your car.
Whether you are getting into timber framing or fine woodworking, the goal is the same: build a solid foundation without going broke. Here is what you actually need to start, and what you can wait on.
Considerations for Beginners
Before we get into specific tool recommendations, here is what actually matters when you are starting out.
Start with hand tools. Power tools are tempting. They are fast, they look cool, and every video you watch seems to feature them. But hand tools teach you the craft in a way power tools cannot. You will feel the wood, understand grain direction, and develop skills that make you a better builder regardless of what tools you eventually use.
Sharp beats expensive. A sharp cheap tool will outperform a dull expensive one every single time. This is why sharpening equipment is not optional.
Build your kit around actual projects. Do not buy tools for the workshop you hope to have someday. Buy the tools you need for the project in front of you. Your kit will grow naturally as your skills and ambitions expand, and you can always add that chain mortiser to your cart later, when you actually need it.
Quality over quantity. One great tool you reach for constantly beats five mediocre ones collecting dust in your workshop. Save your money, buy the good version, and use it for the rest of your life.
Timber Framing Tools for Beginners
Whether you are getting into timber framing to build your own house or to make a new bedframe, there are a few key tools you will need to get the job done.
Layout & Measuring Tools
Tight joinery requires solid measuring and marking tools.
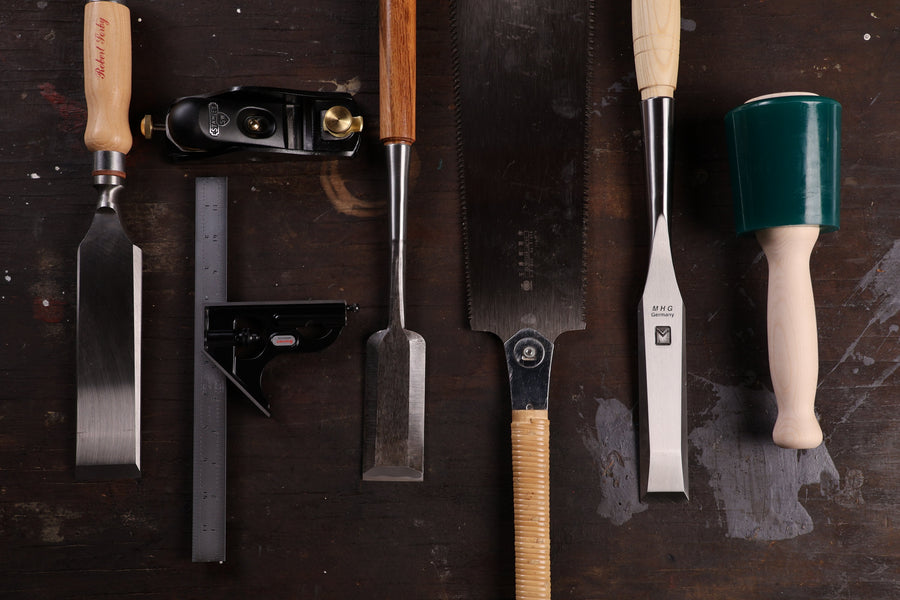
Framing Square
The L-shaped framing square is non-negotiable. It checks right angles, acts as a guide for your pencil and scoring knife during layout, and catches mistakes before you cut. When you are pulling layout off a large timber, accuracy is everything. The Shinwa Framing Square is what we use and what we put in students' hands.
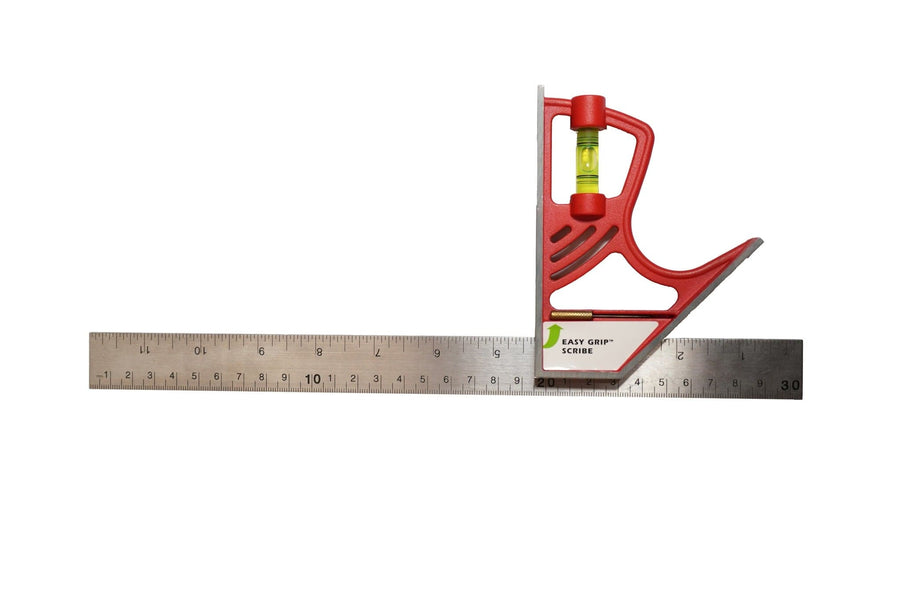
Combination Square
The combination square earns its place for checking the depth of your joinery and making sure you are not over-cutting mortise walls. Cutting beyond perpendicular to the reference face means loose joinery, and loose joinery is not good. Not to mention how UNsatisfying it is to put together. Think about the satisfaction people! The 12-inch version gives you enough reach for timber framing without being unwieldy. The Kapro Combination Square 12-in is our go-to. One nice thing about the Kapro is that it is magnetic, so it is very easy to remove and reinstall the rule. If you have ever tried taking a rule out of a standard combo square and putting it back in, you will understand what a headache that is...
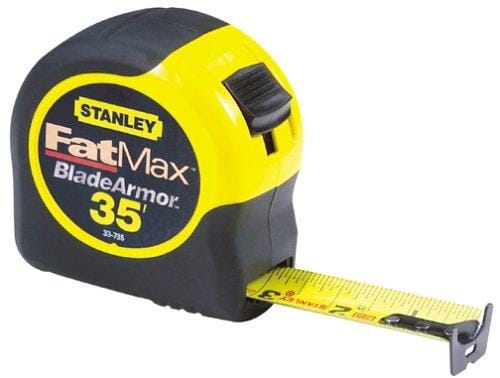
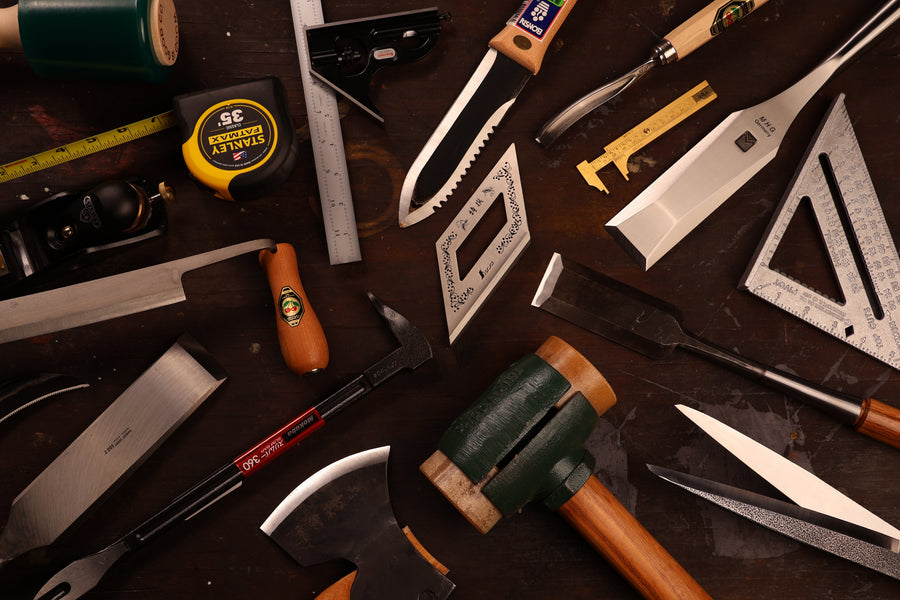
Tape Measure (35-ft minimum)
A tape measure that is hard to read or has poor standout (the distance you can extend a tape unsupported before it snaps down) will fight you all day. Timber framing involves long spans, and a short tape measure will simply not work. We recommend nothing shorter than 35 ft. The Stanley FatMax 35-ft is our favorite—the 1¼ in blade is fat, super easy to read, and the thick lip hooks reliably onto whatever edge you are measuring from. Plus any builder worth his weight in salt(is that the saying?) will give you a head nod similar to how motorcyclists do the cool low wave at each other when they pass when they see you rocking the FatMax.
Carpenter Pencils
The flat edges keep your pencil from rolling off the timber and into the abyss. Trust us on this one—you want a pencil that will not run away. Use it for drafting layout lines, making notes, love letters and all the other things pencils are good for. Plus everyone looks slightly cooler with a carpenter's pencil behind the ear.
Cutting Tools
The bread and butter of your kit. The tools you reach for every time you get to work.
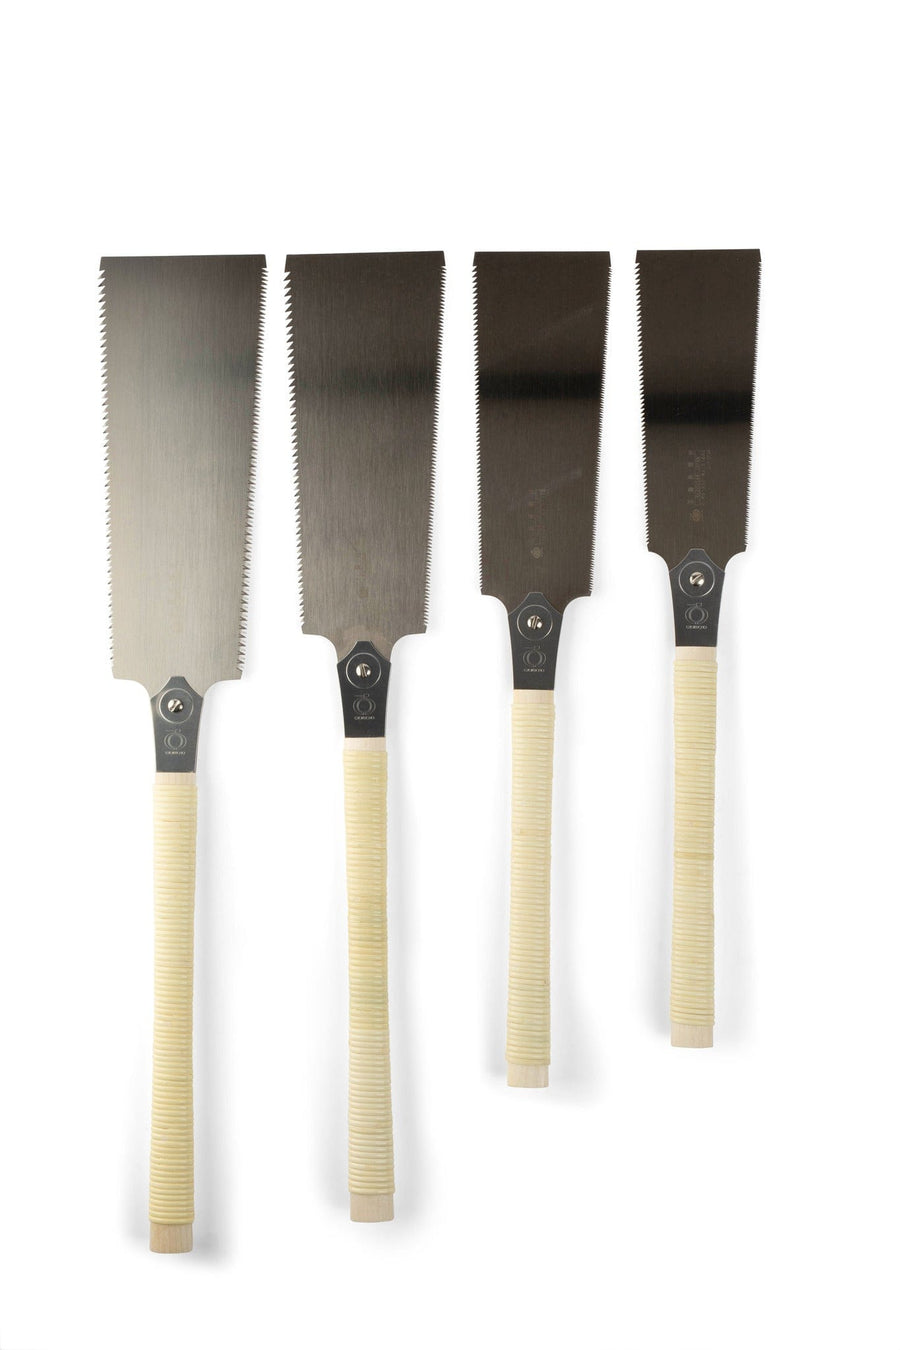
Japanese Pull Saw
The pull stroke gives beginners better control and requires less effort than Western push saws. When you are trying to cut as close to or even right in the score line you just made, that accuracy really matters. We do not recommend going smaller than 300mm—anything shorter and you will constantly be accidentally pulling the saw out of your cut as you saw, because there is not enough blade for full clean strokes. The Gyokucho Ryoba Saws are a great place to start.
Chisel Set
Focus on the 1½-in chisel first. It is really a do-anything chisel and our go-to recommendation if you are only looking to get one. From there, you could consider a 2-in chisel, which will take out more timber with every whack of your mallet. A 2-in is also pretty similar to a slick, so if you are the type of person who believes the tool in your hand is the best one for the job, the 2-in can do two jobs well. We typically point new students toward Barr, Robert Sorby and MHG. They are three great brands that make superb tools and your purchase really comes down to design and price preference.
The Right Slick
The slick is the fine-tuning instrument of timber framing. It is a tool that you push by hand instead of hitting with a mallet. In fact, there should be no violent moves whatsoever when using a slick. That is how you get those oh-so-satisfying curls of wood.
Mallet
The mallet we recommend to pretty much everyone(except people we do not like) is the Wood is Good Mallet 30 oz. It lasts, delivers the right driving force, and will not beat up your chisels. Plus, it does not crack in freezing weather.
Sharpening Tools
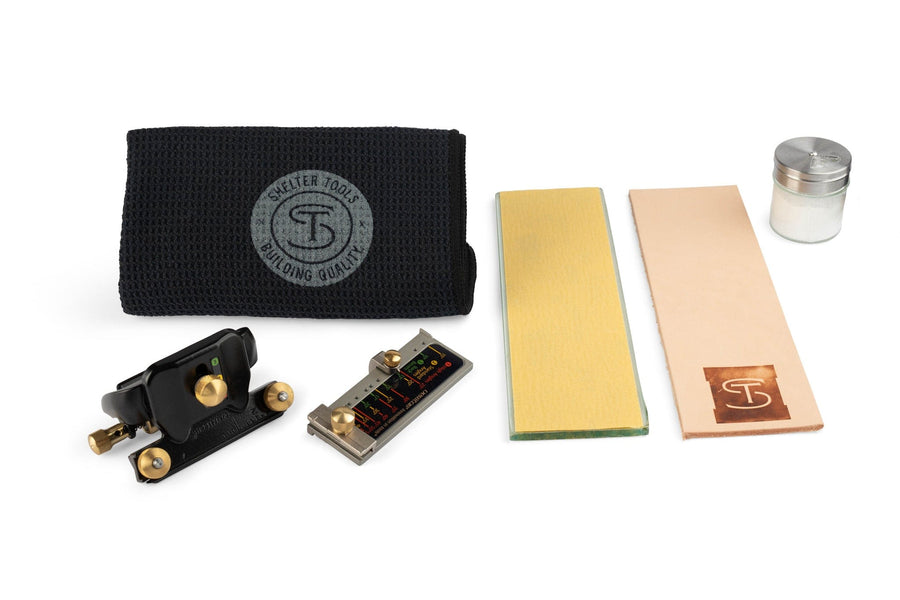
You cannot skip sharpening. A dull tool will make you hate timber framing before you have given it a fair shot, and the difference between hating it and loving it is one good sharpening setup. Our recommendation for beginners is the sandpaper and float glass method. Pick up a good honing guide, a piece of float glass, some sandpaper, and a leather strop, or grab the Shelter Sharpening System, which has all of it in one box.
Power Tools (Optional to Start)
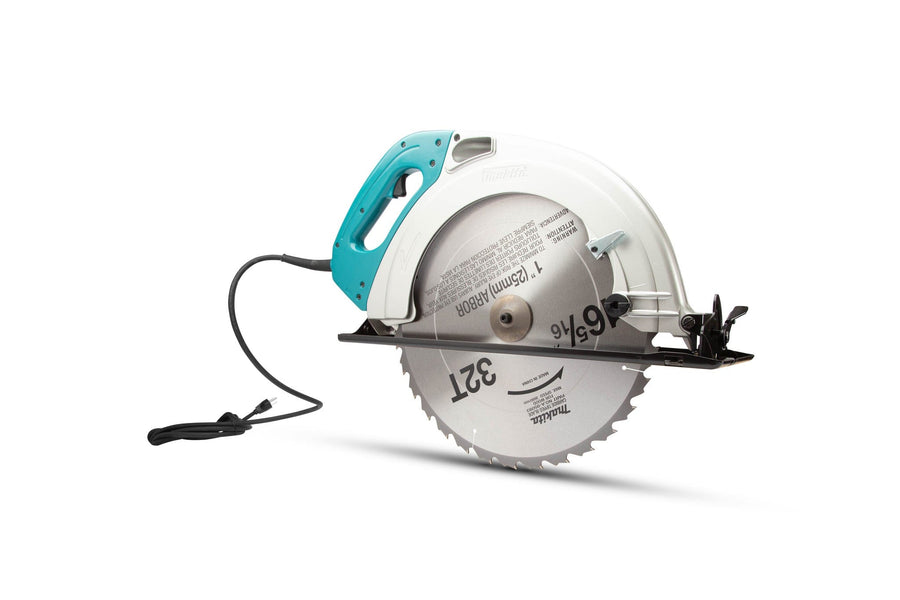
If you are going to add a power tool to your starting kit, just start with a circular saw. The reason we recommend starting with hand tools is not only that you get a better feel for everything—it is also that you can mess things up much faster with a power tool than you can with a hand tool.
Woodworking Tools for Beginners
Fine woodworking takes things down to a smaller scale. You will use some of the same tools as timber framing, but there are a few key differences and additions you will want. Different woodworking projects also have very different needs, so check your specific project against this list before you buy.
Essential Hand Tools
Your first woodworking tools should cover the basics: cutting, shaping, and marking.
Bench Chisels
The bench chisel is a different beast from a timber framing chisel. Shorter, lighter blades built for smaller-scale work. A basic set of ¼-inch, ½-inch, ¾-inch, and 1-inch will cover most of what you run into. Do not skimp here. Cheap bench chisels will not hold an edge, and they will make you miserable. The MHG Firmer Bench Chisels, Fujikawa Oire Bench Chisels and the Two Cherries Problem Solver Set are all great options.
Block Plane
The block plane is the most versatile plane for beginners, period. A good one smooths end grain, trims joints, chamfers edges, and fits in your hand comfortably. It is the first plane you should buy and usually the only one you will need for a long time.
Marking Gauge
For repeatable measurements, nothing beats a marking gauge. It scribes perfect lines parallel to an edge, which makes dovetails and other joinery much easier to lay out accurately.
Japanese Dozuki & Kataba Saws
As you might know, we lean Japanese when it comes to saws. There is nothing wrong with Western saws but we like Japanese saws and this is our blog damnit! Japanese Dosuki saws are great and for shallow controlled joinery due to the metal spine they have running the full length of the blade back. The Kataba saws are better for deeper, more flexible cuts.
Sharpening & Marking
Same sharpening setup as for timber framing—a honing guide for consistent angles, a piece of float glass for a flat surface, and adhesive sandpaper. For marking, you can use a lot of the same tools: a combination square (6-in or 12-in), a sharp utility knife or marking knife for scoring lines, and a carpenter pencil for layout.
Workholding
You cannot work on something you cannot hold securely. A bench vise or portable workbench will give you solid holding without taking up much shop space. You will also want some quick clamps. Our advice on clamps: get more than you think you need. Glue-ups always require one more clamp than you have on hand. Start with four 12-in clamps and add more as your projects demand it.
Start Building Today
The best tool kit is often the one you already have lying around, or one a family member is willing to lend you. If you are really looking to purchase your own tools or expand your collection, then it is acceptable to start buying.
Start with the essentials in this guide. Master them. Build a few projects. Then expand based on what you are actually making, not what you think you might need someday.
Ready to get started? Browse our curated tool collections for timber framing and woodworking, check out our online courses, or come see us in Woolwich, Maine. If you have questions about what belongs in your kit, give us a call at 207-442-7938—we are real humans who answer the phone, and we are happy to help you figure it out.